

Is One Day Countertop Installation Real? Facts
The Truth About One Day Countertop Installation
The promise of a one day countertop installation sounds perfect, but the reality is more nuanced. A true one day countertop installation is real only for the installation phase itself, not the full project lifecycle that begins weeks earlier. At Luther Falls, we have guided homeowners through this process, and a common misconception we correct is confusing the installation visit with the entire countertop timeline.
Countertop installation is the process of fitting and securing a fabricated stone slab to your existing cabinets. The "one day" claim refers specifically to the physical installation visit, which typically lasts four to eight hours. This day depends entirely on a fabrication phase that happens days earlier at a workshop, not in your home.
Below, we will walk through the actual timeline, what your installer handles before arrival, and how to prepare so your installation day goes smoothly.
How Long Does Countertop Fabrication Take?
Fabrication is where your countertop is created from a raw stone slab, and it is the single largest variable in your project timeline. Most facilities require three to ten business days, depending on design complexity and shop workload. This step involves taking precise measurements, cutting the slab to size, polishing edges, and creating cutouts for sinks and cooktops.
The templating visit is the critical first step. A professional visits your home to take exact measurements of your cabinets, capturing every angle and wall irregularity. These measurements program the cutting equipment that shapes your stone. For granite and quartz, fabrication also includes seam alignment, where multiple pieces are joined to fit your dimensions.
Understanding the Full Countertop Installation Timeline
The complete countertop installation timeline from templating to finished surface typically spans two to three weeks. Breaking this down helps set realistic expectations:
- Templating visit : 1 to 2 hours on site, scheduled 3 to 7 days after your cabinets are level and ready
- Fabrication period : 3 to 10 business days at the workshop
- Installation day : 4 to 8 hours in your home
- Curing and finishing : 24 hours before the countertop is ready for normal use
The most important variable within this timeline is cabinet readiness. Your installer cannot template until your base cabinets are installed and perfectly level. Uneven cabinets cause the stone to sit improperly, leading to stress fractures or visible gaps. Professional installers check for leveling issues before templating, because the substrate must support the weight of a stone slab without flexing.
Preparing for Countertop Installation Day
Preparation determines whether your installation finishes in one day or stretches into two. Clear the countertops of all items, including small appliances, dish racks, and decorative pieces. The crew needs unobstructed access to every section of your cabinets.
Your plumbing must be disconnected before the crew arrives. The crew will remove your sink to place the new countertop. If you have a garbage disposal, ensure the electrician has disconnected the wiring before installation day. A cooktop or range needs to be unplugged and moved away from the cabinet run.
What Happens During the Installation Visit
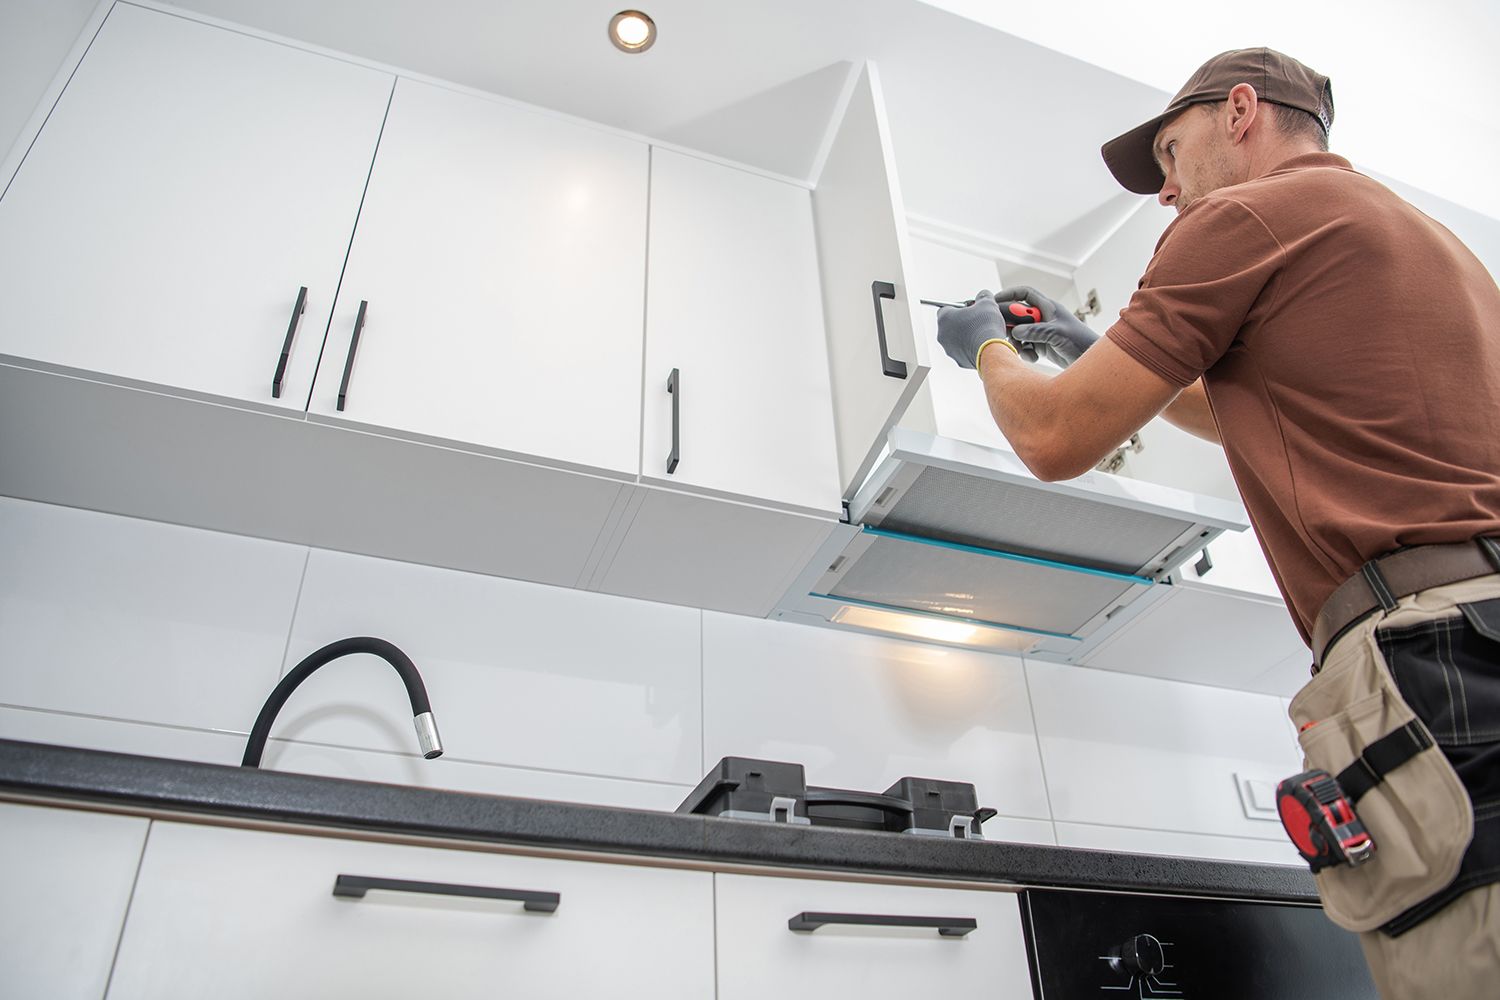
The installation crew arrives with your fabricated slabs, adhesive, silicone sealant, and the tools needed for a precise fit. They begin with a dry fit, placing each stone section onto the cabinets without adhesive to verify seam alignment and cutout accuracy.
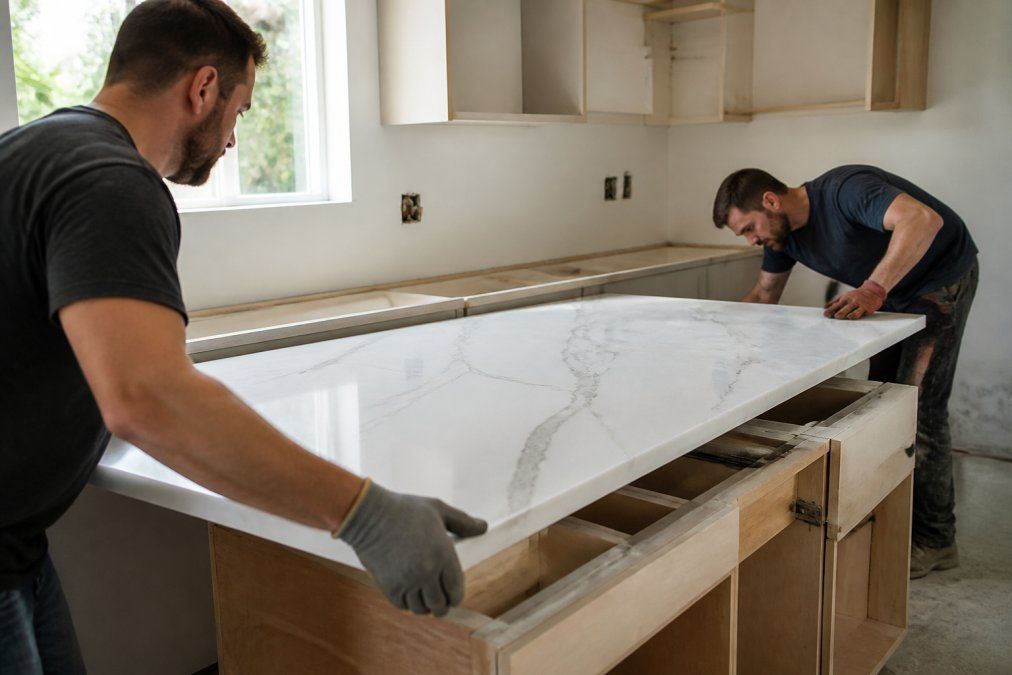
Once the dry fit passes inspection, the crew applies adhesive to the cabinet tops and sets the stone in place. Seams are joined with color-matched adhesive and clamped until cured. The crew then reconnects your sink and plumbing, installs the faucet, and applies silicone sealant along the backsplash edge.
The Step-by-Step Mechanics of the Install
A professional crew follows a specific sequence that protects both the stone and your cabinetry:
- Protection and staging : The crew lays down ram board or drop cloths over your floors and stages the slabs on padded A-frames near the cabinet run, keeping them upright to avoid flexing the stone.
- Cabinet preparation : The crew wipes down the cabinet tops and checks that the cabinet boxes are free of protruding screws or staples that could create pressure points under the slab.
- Dry fit and seam check : Each slab section is lifted into place without adhesive. The crew uses precision shims to level the stone and checks the seam gap with feeler gauges. A gap of more than 1/32 of an inch at a seam requires adjustment, not just more adhesive ( marble-institute.com).
- Adhesive application : The crew applies a two-part epoxy or high-strength polyurethane adhesive in a serpentine bead along the cabinet tops, allowing the stone to sit flush without creating high spots ( naturalstoneinstitute.org).
- Seaming : The crew applies a color-matched resin adhesive and pulls the sections together with seam clamps. Excess adhesive is scraped away before it cures, and the seam is sanded flush with progressively finer grits, from 200 to 1500 grit for a polished edge.
- Sink and cooktop cutout verification : The crew checks that undermount sink clips align with pre-drilled holes and verifies cooktop drop-in dimensions against the manufacturer's spec sheet before the stone is permanently set.
- Plumbing reconnection : After the adhesive sets (30 to 60 minutes for epoxy), the crew reconnects the drain, faucet supply lines, and garbage disposal, running water to check for leaks at every joint.
- Silicone sealing : A bead of 100% silicone sealant is applied along the backsplash edge and smoothed to create a clean, watertight line. A poorly sealed backsplash allows water to wick into the cabinet boxes and cause swelling over time.
What the Crew Does NOT Do
A one-day installation crew does not handle electrical rough-in, any plumbing, move your refrigerator or range, or remove an old tile. Clarify this before installation day.
Even with perfect preparation, delays happen. The most frequent culprit is a measurement error discovered during the dry fit, forcing the crew to return the slab to the fabrication shop for correction. Choosing a professional installer with precise templating matters more than the speed of the installation itself. wardrobe fitting expectations.
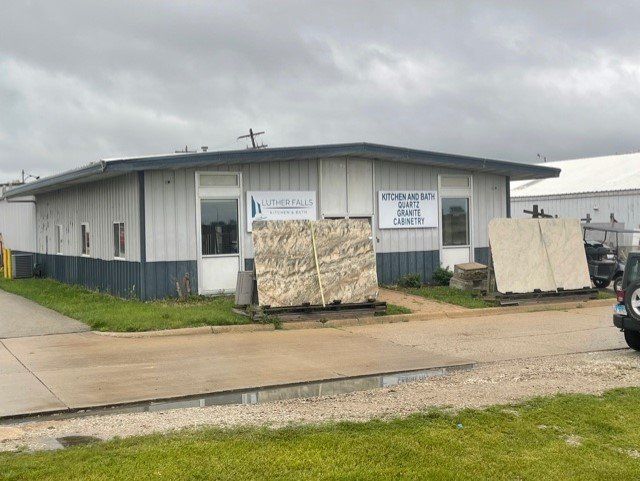
Choose an installer who is transparent about the entire process, from the initial measurement. At Luther Falls, our state-of-the-art CNC machines handle precise fabrication, and our experienced team manages the full project from 3D design to finished installation.