

Soapstone Countertops Pros and Cons 2026
What Is Soapstone and Why It Matters for Your Kitchen
Soapstone is a natural stone made mostly of talc, which makes it softer than granite but highly resistant to heat and stains. This guide from Luther Falls covers soapstone countertops pros and cons 2026, from daily upkeep to long-term patina.
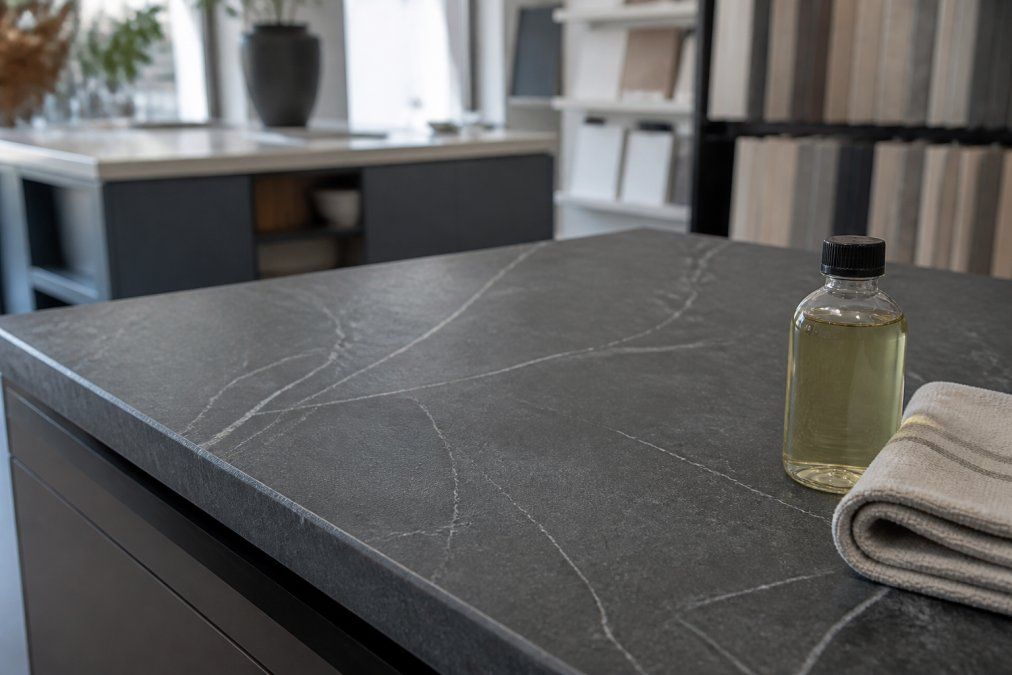
The talc content explains how this stone behaves: it feels smooth and matte, scratches more easily than harder materials, and is non-porous, so it needs no chemical sealing.
Pros of Soapstone Countertops: Heat, Stains, and Patina
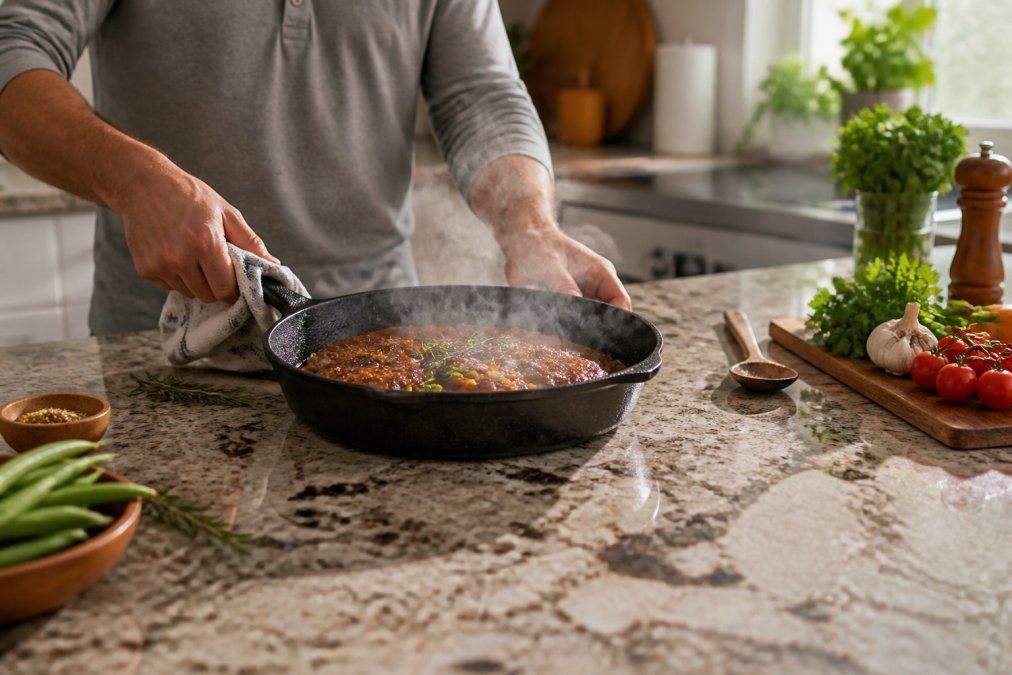
Heat resistance tops the list: you can set a hot pan directly on the surface without scorching it, which is why cooks gravitate toward it.
Cons of Soapstone Countertops: Softness, Scratches, and Dents
Softness is the trade-off. On the Mohs hardness scale, soapstone ranks low, so it dents and scratches more readily than granite or quartz.
How to Oil Soapstone Countertops for a Consistent Finish
Oiling is optional, but most owners do it to even out the color. It takes about 15 minutes and you repeat it only when the surface looks dry.
Here is the routine:
- Clean the surface with mild soap and water, then let it dry fully.
- Pour a small amount of mineral oil onto a lint-free cloth.
- Wipe the oil across the entire slab in thin, even coats.
- Let it sit for 20 to 30 minutes so the stone absorbs what it needs.
- Buff off the excess with a clean cloth.
- Re-oil every few months, or whenever the finish looks uneven.
Soapstone Countertop Scratch Repair and Long-Term Care
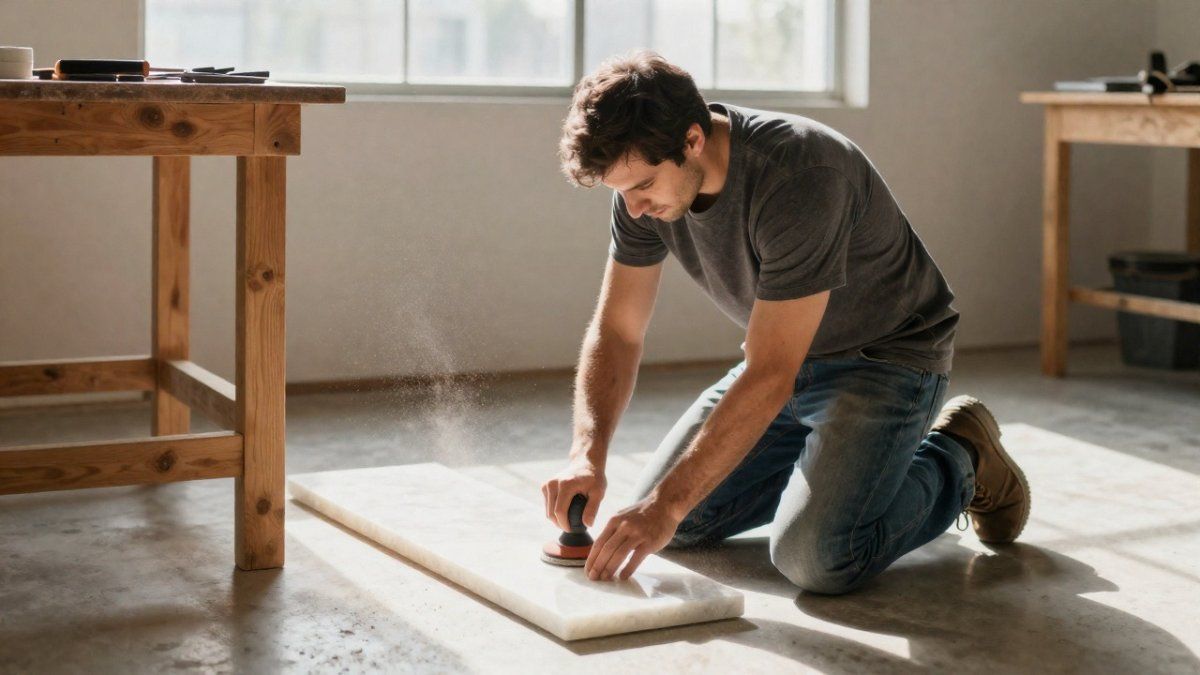
Scratch repair is where soapstone outperforms almost every other countertop material. Because the stone is soft, you can sand out damage instead of living with it, no fabricator visit, no resin filler, no replacement slab.
How to Tell What Kind of Mark You Have
Before you touch sandpaper, diagnose the damage. Soapstone shows three problems, each needing a different response:
- Surface scratch: A light line you can feel with a fingernail but that does not catch, from sliding a skillet, a dropped utensil, or sand under a cutting board.
- Deep gouge: A cut that catches your fingernail or holds water, from dropped cans, knife tips, or dragged cast iron.
- Dent or chip: A compressed or missing spot, usually at an edge or sink cutout. Rarer, and often needs a fabricator.
The DIY Sanding and Buffing Routine
Soapstone is soft enough to refinish a small area by hand. Work in steps and blend the edges so you do not create a visible dip.
- Clean and dry the area. Wipe with mild soap and water, then dry completely, oil residue clogs sandpaper.
- Start with a fine grit. For a light scratch, begin with 220-grit wet/dry sandpaper wrapped around a small sanding block so you sand flat instead of digging a groove.
- Sand with the grain of the scratch, not against it. Use light, even pressure and check every few strokes; soapstone cuts fast.
- Step up to finer grits. Follow 220 with 400, then 600, then 800 for a polished sheen, removing the previous step's scratch pattern.
- Feather the edges. Sand slightly beyond the scratch so the repair blends in; a hard edge creates the visible dip.
- Wipe away dust and oil the spot. Mineral oil re-darkens the sanded area to match the slab; without it, the repair looks lighter.
When to Call a Fabricator Instead
Some damage is beyond a homeowner's sanding block:
- Chips at an edge or sink cutout. These change the stone's profile and usually need a fabricator to reshape and polish the edge.
- Cracks through the slab. A structural issue, not cosmetic, it may need epoxy, reinforcement, or partial replacement.
- Damage near a seam. Sanding across a seam can open the joint; leave seam repairs to a professional.
If unsure whether a mark is a scratch or a crack, run a fingernail across it: a scratch catches the nail, while a crack often catches and opens slightly under pressure.
Long-Term Care That Prevents Most Damage
The best repair routine is the one you rarely need. A few habits keep soapstone consistent for decades:
- Use a cutting board. Soapstone dulls knives and picks up scratches from direct chopping; the board protects both stone and blades.
- Lift, do not slide, heavy items. Cast iron and stand mixers are the usual culprits behind deep gouges.
- Skip abrasive cleaners. Powders and scouring pads scratch the surface and strip the oil finish unevenly.
- Re-oil when the finish dulls. A dry-looking patch signals the stone is ready for another coat.
- Keep a small sanding kit on hand. Sheets of 220, 400, and 600 grit plus mineral oil handle most marks in ten minutes.
Cost of Soapstone Countertops Per Square Foot in 2026
Soapstone pricing depends on slab grade, thickness, edge profile, and layout complexity, so cost varies by project. Still, walk into a showroom with a range in mind. Here is how the numbers break down.
Material Cost vs. Installed Cost
Most homeowners see two prices, and confusing them is the most common budgeting mistake:
- Material cost covers the slab itself. Soapstone generally runs mid-range for natural stone, typically less than premium marble and comparable to or slightly above mid-grade granite, depending on quarry and veining.
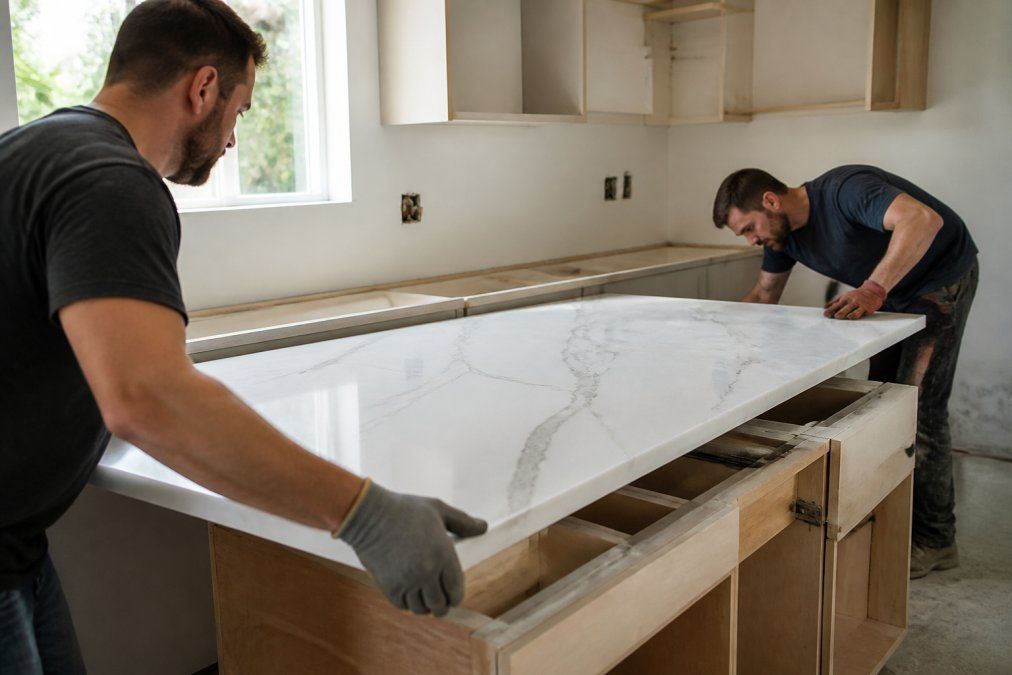
- Installed cost adds fabrication, edge polishing, sink cutouts, delivery, and labor. Fabrication is often the larger variable: soapstone is softer and easier to cut than granite but still needs careful edge work and seam planning.
Where Soapstone Sits Against Granite and Quartz
Per square foot installed, soapstone lands in a similar band to mid-grade granite and can be less expensive than premium quartz or marble. The trade-off is fabrication detail: soapstone's softness means edges and cutouts need a gentler touch, and not every fabricator works with it regularly. A shop that handles soapstone often quotes more confidently and wastes less material.
Is Soapstone Right for Your Kitchen Remodel?
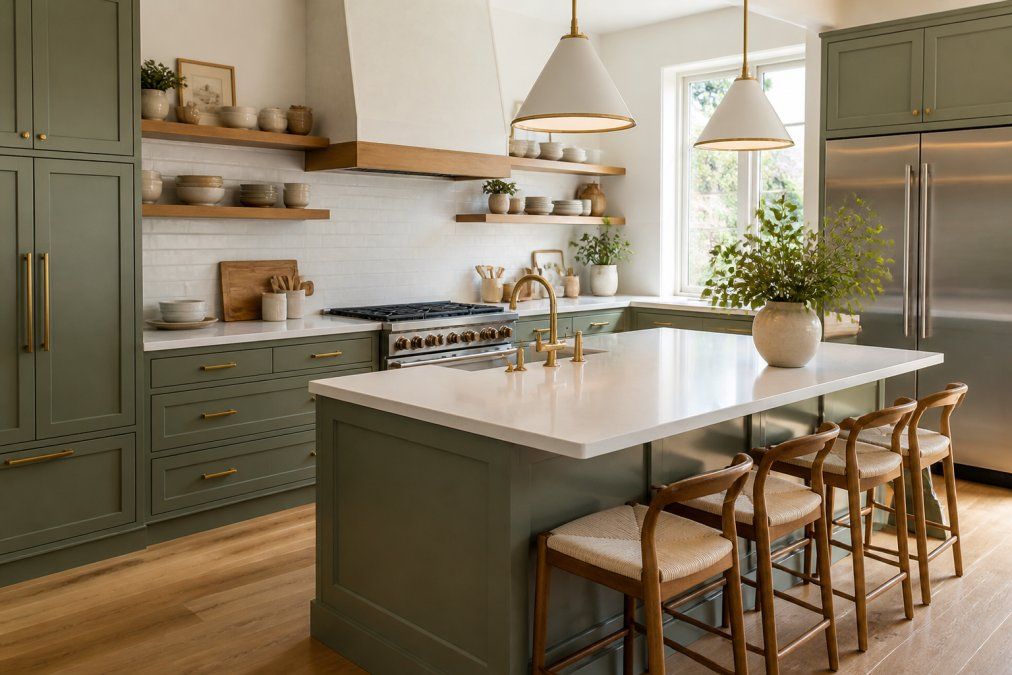
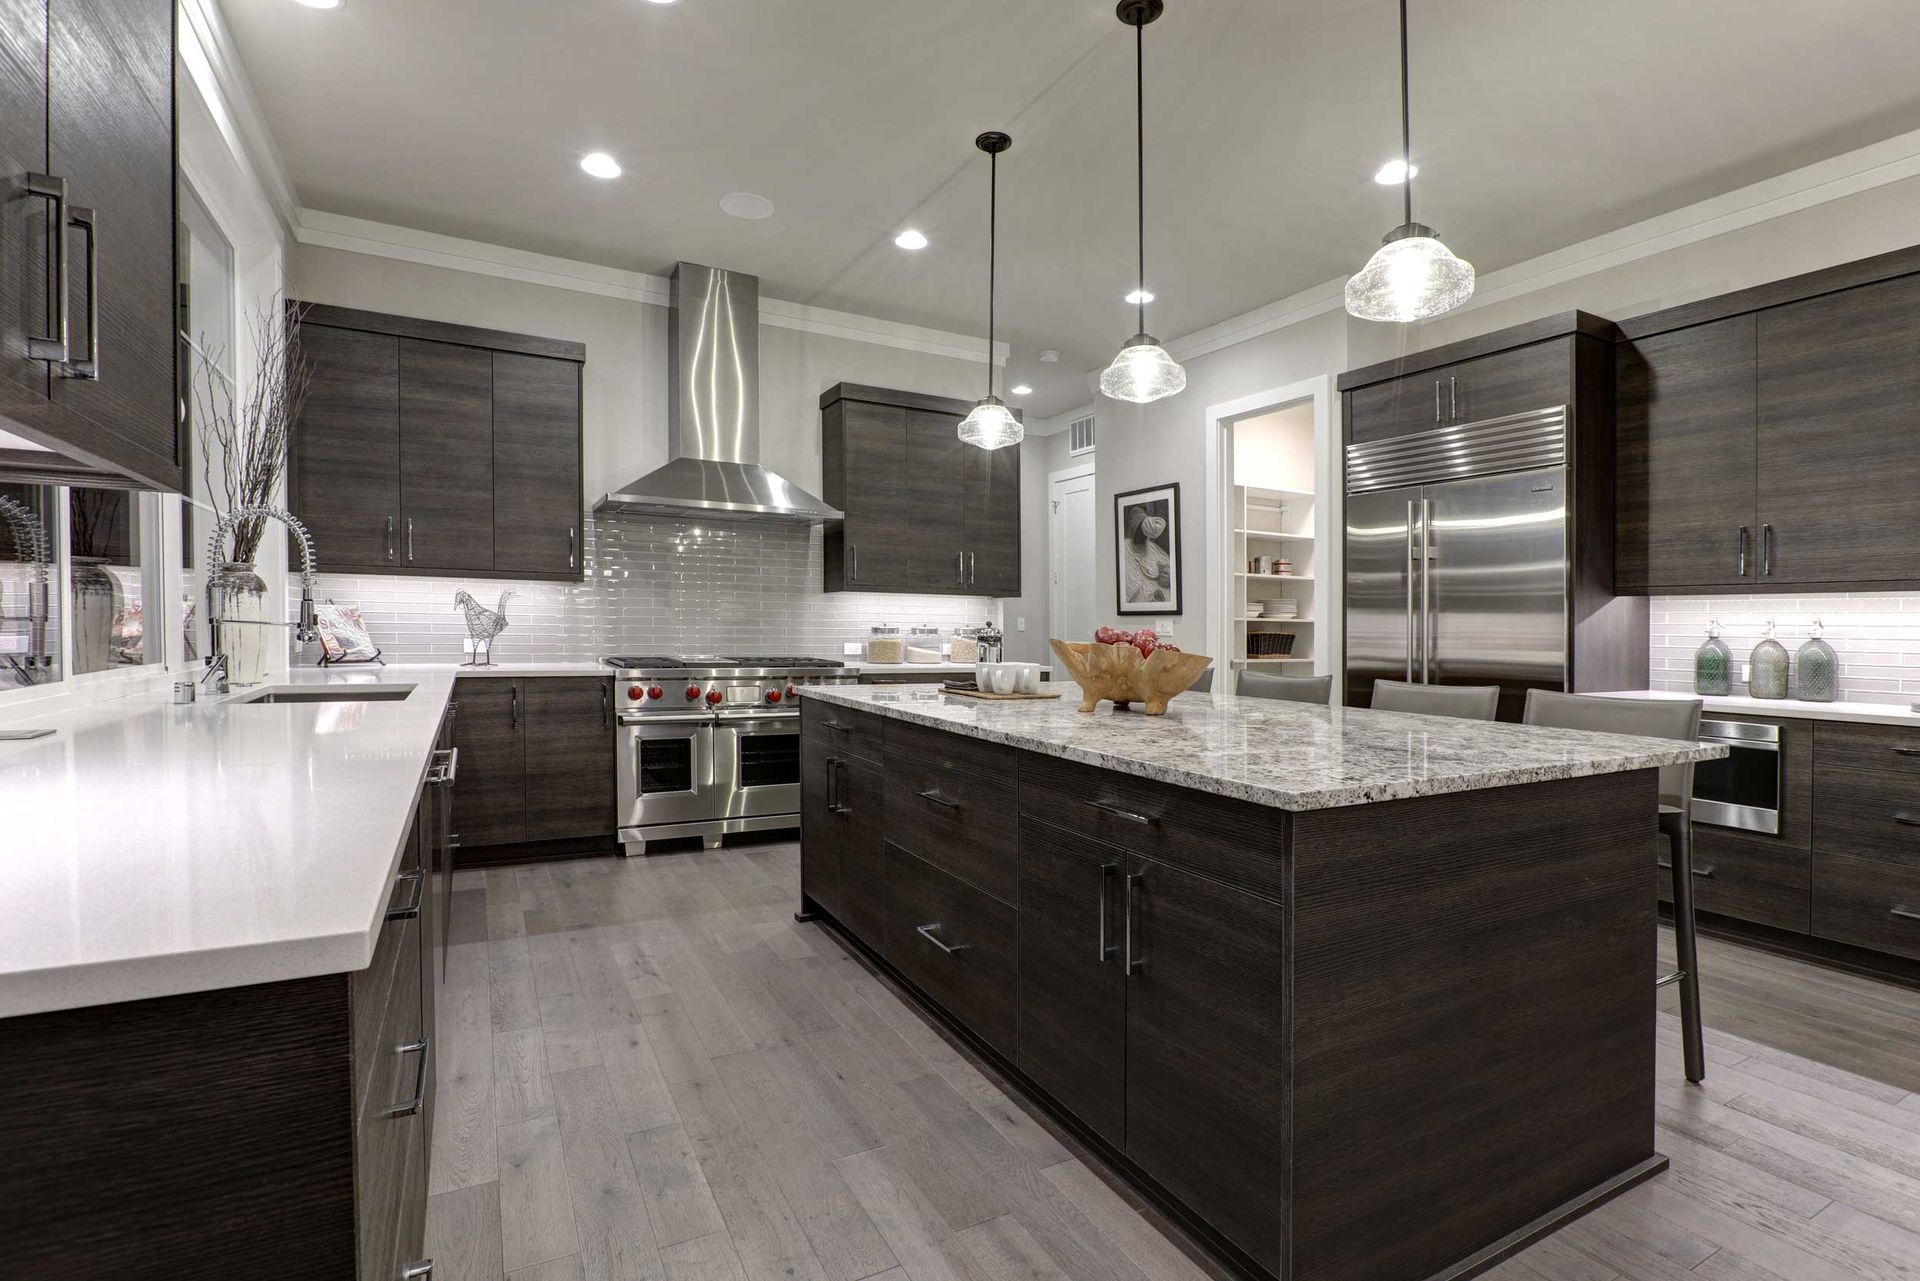
Soapstone suits homeowners who want a matte, natural surface and do not mind a little character. It rewards people who cook often, set hot pans down without thinking, and appreciate a finish that ages instead of wearing out.